Quick Start (Raspberry Pi)
Quick start guide shows how to connect a relay module to Raspberry Pi and configure UniGateway to control it. Connecting other types of devices is similar and can be done with the similar steps.
Remember that electricity can be dangerous. You can try this guide without high voltage electricity, only with 5V power and relay module (EMR type). This way is much safer, and you still will be able to know it works correctly, because toggling this type of relay can be easily heard.
What do you need
- Raspberry Pi (3 or 4)
- SD card (minimum 8GB)
- Relay module (EMR)
- Wires to connect Raspberry Pi pins with relay pins
Connect and configure device
- Download UniGateway SD card image for RaspberryPi from here.
- Flash SD card with UniGateway (you can use Balena Etcher).
- Insert SD card to Raspberry Pi.
- Connect Raspberry Pi to your router with ethernet cable and power up Raspberry Pi.
-
Connect relay module to RaspberryPi (see table below and photo).
Raspberry Pi Relay module 5V VCC/DC+ Ground ground/DC- GPIO17 control/IN -
Open browser and go to http://unigateway.local:8080/ui.
Take into account that it may take a few minutes for Unigateway to start after booting Raspberry Pi. - Go to "Devices"/.
- Change the switch for "Workshop light".
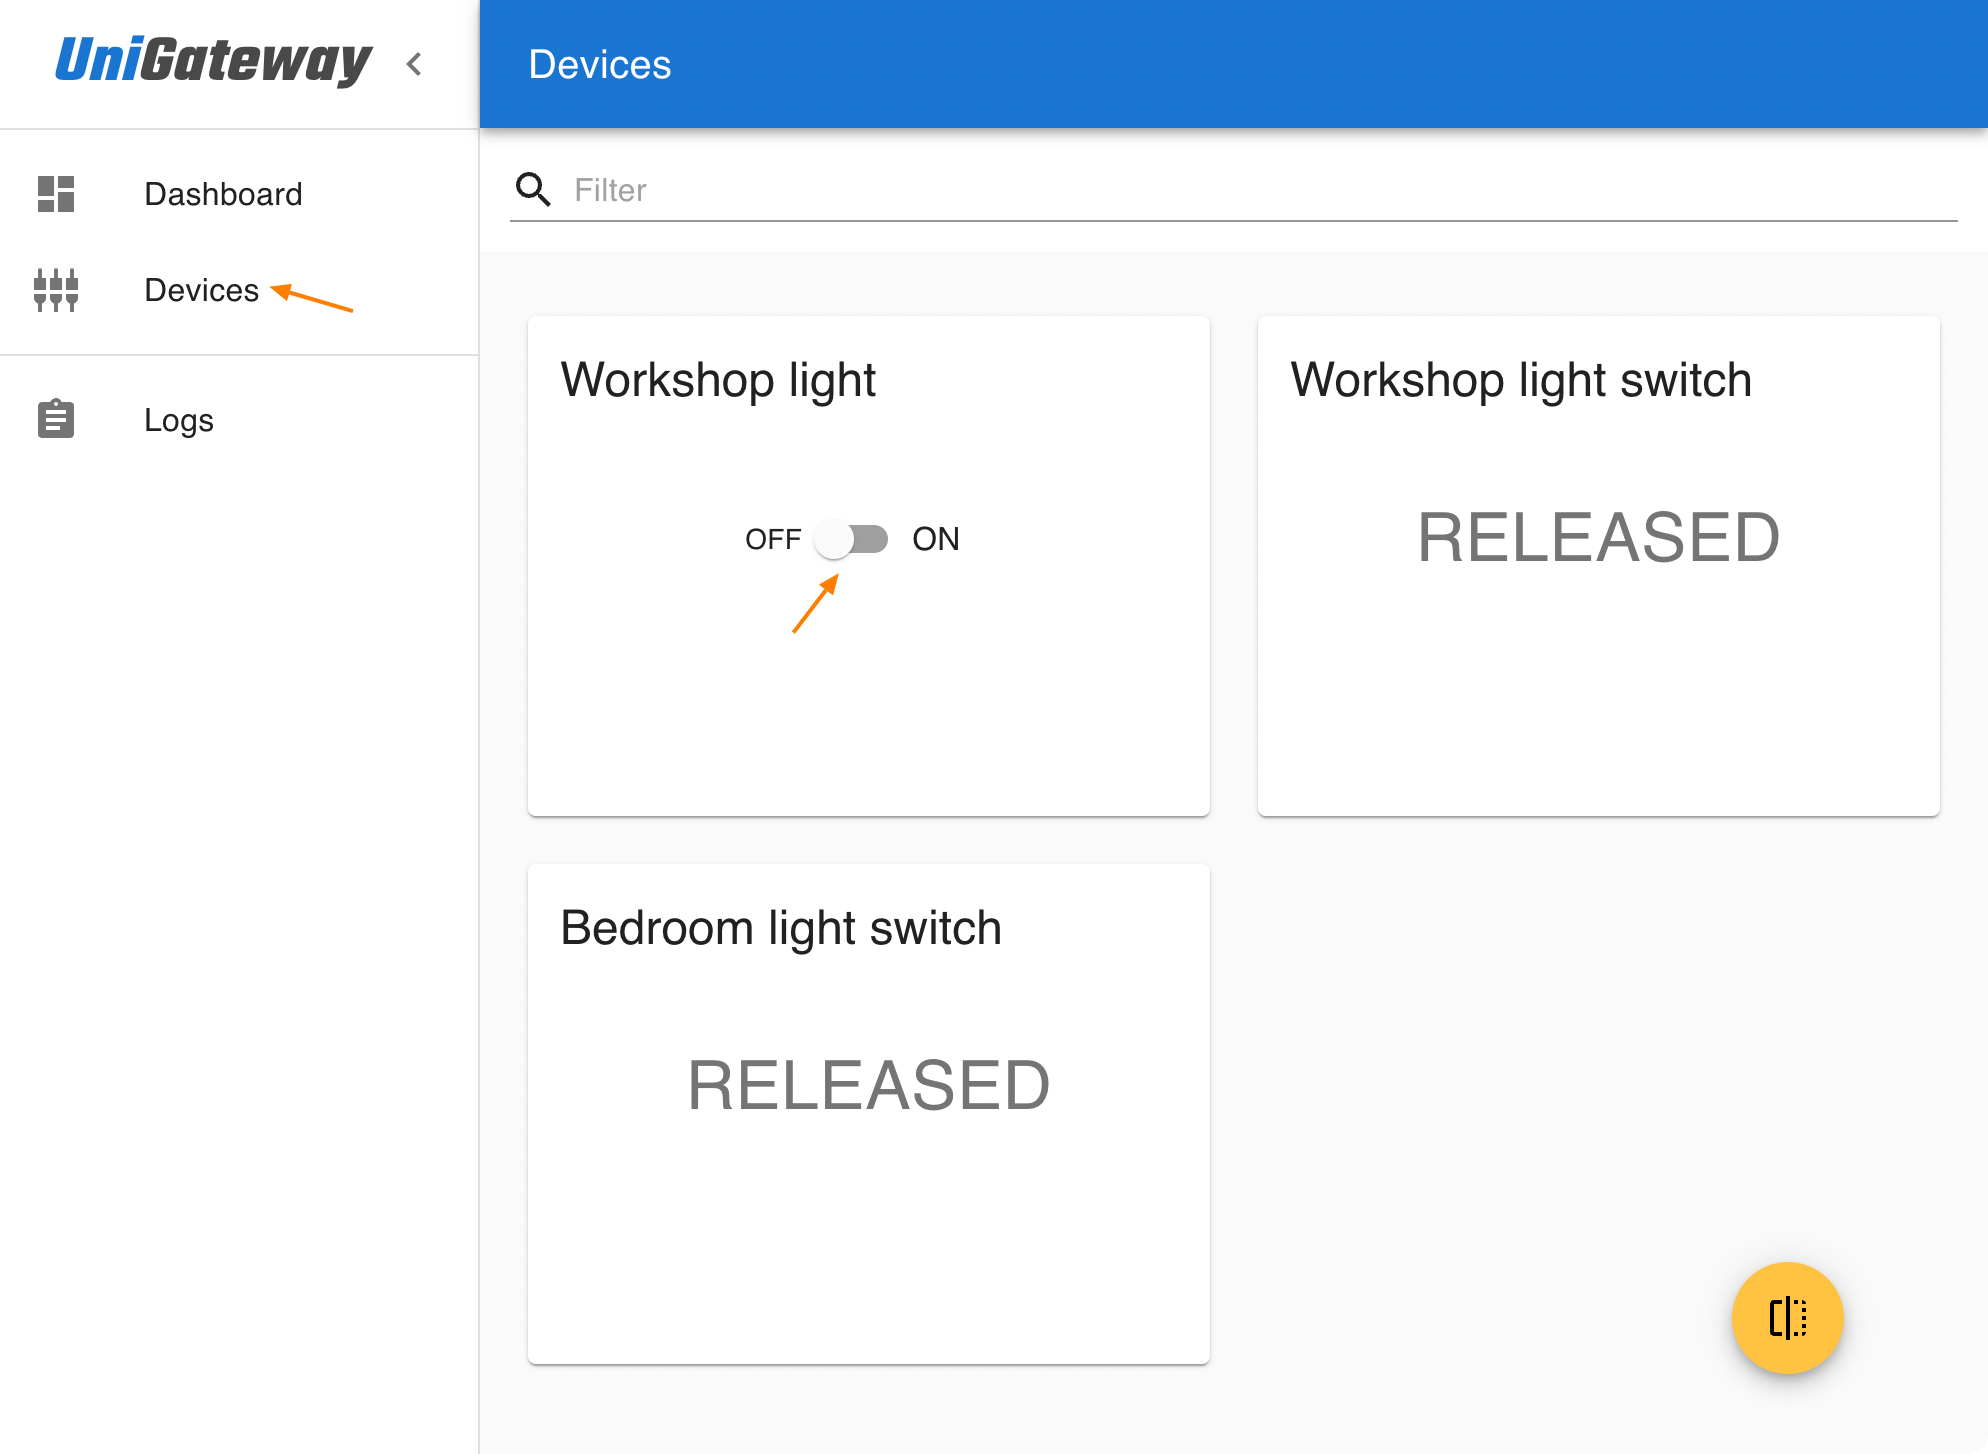
State of the relay should change. You should easily hear the characteristic click of the EMR relay. You can try toggle device state for a few more times to check that.
Congratulation! You have just configured your first device with UniGateway on Raspberry Pi 🎉.